On to Next Page
Back Complete Control Front Page
©2001 Automatum Technologies
|
Complete Control Upgrade 2001 - Part 2 After the media blitz, Complete Control went back into "not being worked on" mode, that was until the next Battlebots rolled around. Here is a quick tour of what was done to get ready for BB season 3. |

|
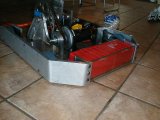
New 3/8" Lexan rear armour protecting the now laying flat Hawkers. Also, new formed side armour made from 6061 extrusion that I bent using my own jig. | |

|
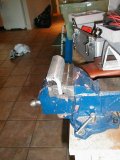
Here's the bending jig I made clamped into my vise. | |

|
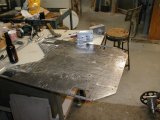
To accomodate the new side armour, I bevelled the rear corners. Here the chassis pan is stripped down for weight reduction. | |

|
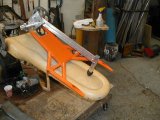
The disassembled lifter/grabber unit, getting ready to be repaired. | |

|
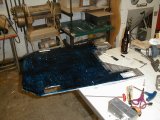
Blue layout die smells goood. I used way too much, but it went on really easily. | |

|
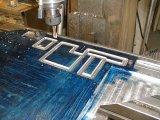
Starting to hog out material on the frame. I decided to take out material where ever there was clear space on the frame, as the thickness wasn't really needed. | |

|
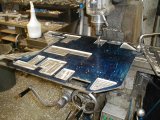
Finishing up the job. You can see the aluminum shavings scattered about on the floor. | |

|
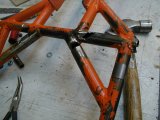
Kill saw inflicted damage on the forks, getting cleaned up for patching. | |

|
Another shot of the forks -- removing paint to assist in keeping the welds clean. | |

|
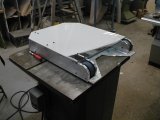
Top armour test fitting, without the arm supports inplace. This allowed me to get the correct profile and hole pattern, before having to make clearance for the weapon. | |

|
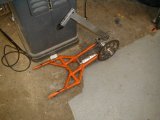
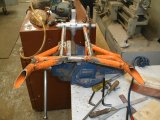
The repaired forks, freshly painted. I also had a piece of sheet metal welded to protect the grabber cylinder from a repeat of what happened against Super Chiabot (mashed the cylinder wall in, wrecking the unit). | |

|
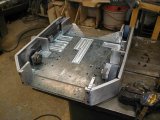
Putting the robot back together. I moved up from 16 aluminum to 16 pitch steel gears on the rear wheels for improved strength. You can see the number of holes in the base from the various motors/gearbox combinations that I have had on the robot. | |
|
On to Next Page Back Complete Control Front Page ©2001 Automatum Technologies |